Creative Methods to Reuse and Repurpose Dry Leaves Effectively
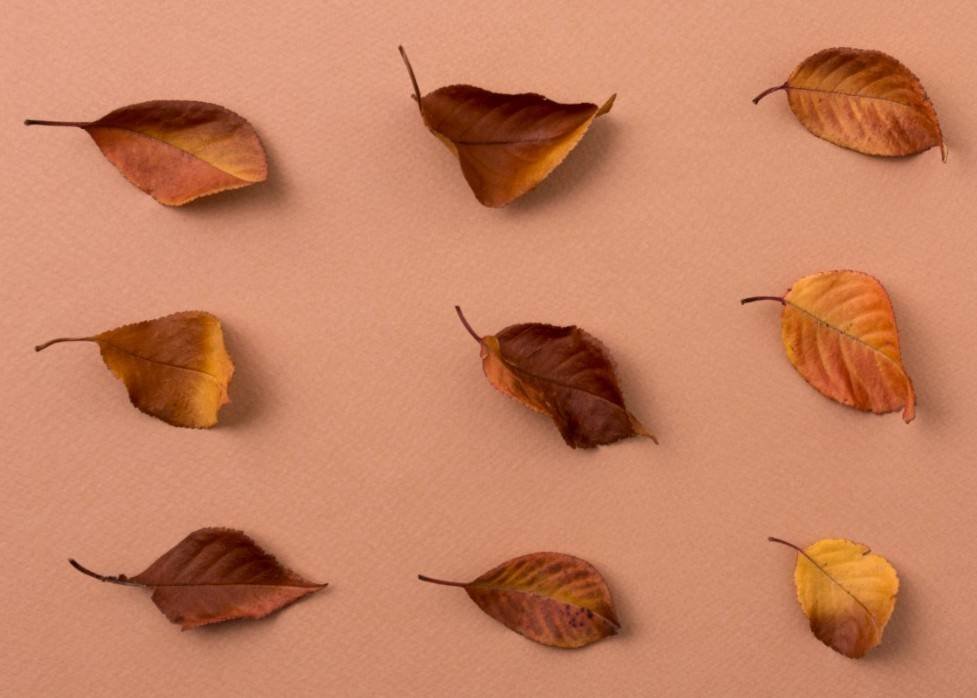
Papery and dry leaves can be a sign of plant stress caused by air-dry, infection, or nutrient deficiencies. While they may seem problematic, these leaves have valuable uses. In gardening, dry leaves act as a natural mulch and fertilizer, enriching the soil with essential nutrients. They also support local ecosystems by providing shelter for birds and insects. Instead of remodeling them, homeowners can repurpose dry leaves, reducing waste and promoting sustainability. This eco-friendly practice saves money, supports plant health and contributes to a greener earth.
Why Are My Leaves Dry and Paper Like?
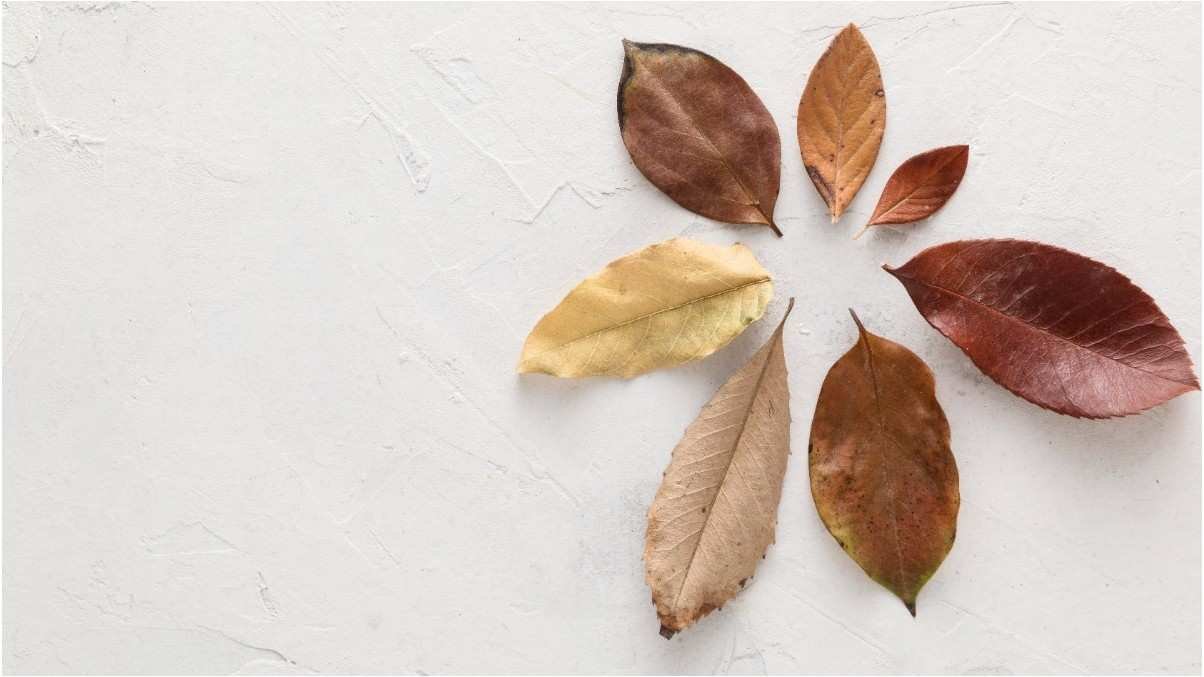
When the leaves on your plant become dry and feel like paper, it is a sign of plant pressure. This can occur for a few reasons, such as lack of water, overly sunlight, or nutrient shortage. Some of them need to be more watering, which would lead the leaves to become dry and lose moisture. Another factor could be excessive direct sunlight and low humidity is also considered a cause.
Plants need a normal amount of moisture in the air to stay healthy. Too much or too little wetness can dry out the leaves, making them feel flexible. A lack of key nutrients can also cause leaves to dry out. In some cases, infections and diseases can harm the leaves, leaving them weak and unhealthy. To retrain the plant, it’s important to identify the root cause first.
How can I Preserve Leaves
One of the easiest ways to preserve leaves is by pressing them. Place the leaves between two sheets of parchment or wax paper in a sturdy book or leaf press, and wait. After around 1-2 weeks, the leaves should be dry and flat. Another option is to dry leaves by hanging them upside down in a cool, dry location with good ventilation. You can, alternatively, use gelatin to preserve leaves by burying them in the gel within a container for a couple of days, which will assist in safeguarding their texture and color. Mix 1 part glycerin with two parts water for a different technique, and soak the leaves in this solution for a few days to keep them soft and flexible. This makes preserving your leaves for extended periods possible while keeping them attractive and unharmed.
Drying Leaves for Craft Projects
Drying leaves for craft projects is a simple method to protect their shape and color. Here are easy three methods to do it, which are described step by step:
Method 1
- Air-dry the leaves if you don’t need to keep them flat: Put the leaves in a wide container or bind them in small bundles. Place them outside in direct sunlight for a few days. Check them everyday or every second day to see if they are dry. The sunlight will dry the leaves but the edges might curl.
This can make them hard to use in some craft projects but they are good for floral arrangements. If you wish to maintain the full, rich greens of the leaf in its natural form, avoid taking them outside and placing them in the sunlight. Fading of color will occur due to exposure to light, making the colors duller. Airflow from a fan or window will dry the leaves faster. Air-dry the leaves if you don’t need to keep them flat. - Press the leaves flat and dry with this slow but simple method: This is a slow method, but it is quite easy as well. If you wish to retain the shape of the leaves. You can flatten them by placing them between two sheets of paper and putting some heavy books on top. This will only take a few days to ensure the leaves dry flat.
- Use a flower press instead for faster drying: If you need the leaves flat, one option is to use a flower press, whereas book presses and other forms of heavy pressure take longer. This method allows us to dry leaves in a few days instead. Spread the leaves out between two paper towels. Put the paper towels in between two sheets of blotting paper or several additional sheets of paper towels. Place the whole stack on the open flower press, then close and tighten. Check every few days to change damp towels and see if the leaves are dry.
- Dry large, thick leaves quickly in the microwave: If you microwave thick and large leaves after wrapping them in paper towels, the leaves tend to dry faster, but due to their thickness, it is important to microwave them in intervals; however, it is crucial always to ensure not to overheat the leaves.
Caution: The leaf can easily catch on fire in the microwave, which is why you should only use this method on large, thick leaves. The cup of water helps prevent this, since some of the microwave’s energy is used to heat the water. - Iron fresh leaves to preserve their color: This method works best on fresh leaves that have not changed color yet or have started to dry, but if the surface is still wet, you should pat them dry with paper towels. Place one leaf between two sheets of wax paper, and put a towel on top of the wax paper. Heat a clothes iron, then move the iron over the towel while pressing for 2-5 minutes or until that side feels dry. Flip over the stack of wax paper, put the towel over it again, and repeat.
Caution: children should have an adult iron the leaves for them, as the iron can get dangerously hot. Make sure the clothes iron is not set to produce steam. Once the leaf is ironed, cut a circle of wax paper out around it and peel off each layer of wax paper. This will leave wax on the leaf to preserve its color. - Preserve the texture of leaves with glycerin: Glycerin is an effective method for softening them while retaining their shape. The leaves are kept in a combination of glycerin and water to form a pliable mixture that retains their natural texture. This method works by replacing some of the water inside each leaf with glycerine, which won’t evaporate like water does. If the leaves float to the top, place a paper plate or other object you don’t mind getting wet on top of them to keep them weighed down under the liquid. Add more glycerine and water if the liquid drops below the leaves.
Drying Herbs or Tea Leaves
Drying herbs or tea leaves is a simple process that helps preserve their flavor, scent, and freshness. Here are easy methods to do it. Here’s a simple explanation of each point for drying herbs or tea leaves:
Methods 2
- Rinse dirt off fresh-picked herbs: The first step is washing leaves of dust or even bugs off the herbs before using them. Washing the herbs will ensure they are kept clean and safe afterward.
- Spread out wet herbs until the water evaporates before using any other method: You can use a clean or dry cloth to wrap the herbs around and dry them off. Let them sit for a minute or two until they are fully dry before using other methods.
- Dry small amounts of herbs or tea leaves quickly in the microwave: When wanting to pop tea leaves or herbs, the best method is to place them between two paper towels. Keep the microwaved clips on short intervals of roughly between twenty to twenty seconds. It would help if you only stopped once both sides felt dry or crispy.
- Dry thick or sturdy herbs by hanging them indoors: Take those thick stemmed herbs and tie them up into smaller pairs; once this is done, hang them inside a clean, dry room to ensure they become fully dry.
- Dry moist or soft herbs in a low-temperature oven: Wrapping soft herbs in any oven tray will work, but set the oven to a low temperature before placing the trays inside it. Drying off the leaves at an extremely low temperature will guarantee the leaves aren’t burnt: roughly between 95-115 degrees.
- When the herbs are crisp and crumbly, store them in an airtight container: When the herbs become dry, they start feeling soft or crisp and can break off easily; take a clean container and put them in a sealed jar. This way, they will stay in good condition for a long period.
Making Skeleton Leaves
Making skeleton leaves is a fun process where you remove the soft tissue from the leaf, leaving behind only the veins. Here’s how to do it:
Methods 3
- Choose leaves with thick, visible vein patterns: Look for leaves with thick and pronounced vascularization, as they are easier to skeletonize. Leaves such as magnolias, maples, or peepals work well in this process. Such soft and thin leaves should be avoided as they will break before you start using them.
- Fill a cooking pot with 1 quart (1 L) water: Your preparation starts with taking a large cooking container, in this case, a pot. Fill it with 1 quart of water (1L). This much water should be enough to submerge the leaves when boiling them.
- Put on gloves: Protective gloves should be worn to protect one’s hands from boiling water and chemicals. At this stage of the process, your safety must be ensured.
- Add a little baking soda or washing soda: Roughly 1 – 2 teaspoons of baking or washing soda should be put into the water. These compounds assist in loosening the softer fleshy parts of the leaves.
- Add your leaves to the pot: Carefully place the fresh leaves into the pot and ensure they are submerged completely under the water to ensure even cooking.
- Heat the pot to a simmer: Use a low or medium flame to turn on the stove. Bring the water to a simmer; the water should just be steaming and not boiling. This ensures safety by keeping the process slow.
- Leave it to simmer until the leaves are disintegrating, stirring occasionally: Let the leaves simmer for about 1-2 hours while gently stirring them occasionally. Once you start gently shaking the leaves, you will see their soft greens slowly disintegrating. Take your time with this process and carefully wait for everything to unfold.
- Transfer the disintegrating leaves to a pan of cool water: After the soft part of the leaves are fully broken, spoon them or grab them with some tongs and move them to a bowl filled with cold water. This is done to cool the leaves, thus making it easier to clean them later.
- Use a small, stiff brush to remove the remaining pulp: Grab a toothbrush or a small brush to carefully scrub any remaining soft green parts from the leaves while placing them in cool water. Make sure you inspect the leaves and scrub them sparingly to avoid damaging the veins of the leaves. Once the pulp is removed, you will have exquisite, fragile skeleton leaves suitable for use in art, crafts, and decorations.
- Wash all materials used while wearing gloves: After completing the process, ensure that everything used, such as the tool, pot, pan, brush, and any other item, is cleaned. Use soap alongside washing up the items used, and keep wearing gloves during cleaning to avoid getting chemicals such as washing soda or baking soda on your skin.
- Let the leaves dry: Heavily press down on skeleton leaves that have been cleaned and place them on a clothesline, ideally in an airy environment or on top of a towel. To keep the moisture escaping the leaves, keep them under a heavy book. Once the moisture or drying process ends, they are ready and will be waiting for us regarding different crafts, decorations, or artwork.
Show Off Artistic Skills with Dry Leaves
You can show off your artistic skills with dry leaves in many creative ways. For example, you can paint on the smooth surface of the leaves or create beautiful leaf collages by arranging different leaves on paper. Pressed dry leaves can also be turned into bookmarks, which you can decorate with paint or glitter. Another fun idea is to make leaf prints by rubbing a crayon or pencil over a leaf under paper or using paint to press the leaf onto paper. Dry leaves can decorate home items like photo frames or greeting cards, giving them a unique, natural touch.
Effortlessly Remove Dry Leaves with a Garden Leaf Blower
A garden leaf blower is one of the most effective tools for simply removing the dried leaves from your yard or garden. Turn the machine on and aim the blower nozzle at the leaves. The strong air from the device would blow the dry leaves beautifully into heaps, which is much faster than raking. Always remember to control the speed of the blower based on the amount of debris that needs to be cleared. In addition, you can direct the leaves where you want them, for example, to a compost bin or a leaf bag, with the leaf blower, saving you time and effort, especially in large areas.
Creative Art with Dry Leaves and Dried Leaf Crafts
Natural decorations with dried leaves and art done with them can be turned into something really beautiful. Here are some easy techniques you can try out:
- Leaf Prints: Dipping a dried leaf into paint and pressing it onto a surface is one of the most creative activities for print leaves. All dried whole leaves can be turned into beautiful prints through this method. An added benefit to this method is adding color to the prints, so you want to make them into different shades.
- Pressed Leaf Art: Preserving leaves by adding some sheets of paper and pressing them between them is an effective way to keep them intact. The pressed leaves can then be displayed more artistically by gluing frames or creative patterns that can be displayed on a canvas or even on walls. Paint and glitter can also be preferably added to give it a more enhanced look.
- Leaf Collage: Various leaves can be collected and pasted onto a sheet alongside or on top of one another to form a collage. Varying shapes and sizes of leaves can easily be creative and visually appealing artworks in the design of animals and flowers. Remembering the last part to seal the collage permanently by gluing the leaves.
- Leaf Garland: Another entertaining activity is creating a leaf garland. All you have to do is dry out leaves, then sew them together in a string with a needle and thread to hang as a decoration. You can combine various kinds of leaves for a natural, colorful appearance. These also work perfectly when put up during the fall season or for any rustic-style event.
- Leaf Bookmarks: Dry leaves can also be made into charming bookmarks. Flatten out the leaves by pressing them and then stick them on a piece of card or laminate them. The bookmarks can also be painted with either paint or glitter to make them more interesting! All of these are ideal as handmade gifts.
- Decorative Frames: Photo frames can also be enhanced using a dry list of leaves. Just stick some leaves around the borders of the frame to achieve a rustic look that is very nature-like; this can also fit in with any decorations around or in the house that are nature-themed or during autumn. Small features such as twine or beads can be glued to the frame for extra flavor.
- Leaf Stamps: Stamps are another thing you can make, which involves getting dry leaves; these can bring a new perspective on how stamps look when you paint on them, press them firmly onto paper or fabric, and stamp them in for a new pattern or a design. They will assist you in creating new birthday cards, a gift, wrapping paper, or even some unique fabric prints. Remembering to integrate prints, collages, or simple decorations into dry leaves as a natural resource is brilliant. Dry leaves as a craft material are exceptional in their versatility and ecological friendliness.
Quick Tip: Instead of bagging dry leaves, use them as mulch around your plants or compost them to create nutrient-rich soil for your garden.
FAQs:
What do dry leaves mean?
Dry leaves often mean the plant is not getting enough water or nutrients or entering a dormant phase.
How do you fix dry leaves?
Water the plant properly, ensure it gets enough sunlight, and check for pests or diseases.
What are the benefits of dry leaves?
Dry leaves can be used as mulch, compost, or natural decoration. They help improve soil quality when added to gardens.
Are dried leaves good fertilizer?
Yes, dried leaves are great for composting and provide nutrients to the soil as they decompose.

